
Well I am finally getting around to sending out some thank you notes that are only about 3 weeks late. I usually get them made before the baby is born but with everything that happened this time around, there was not any stamping time. It is so great to finally be stamping again. I really like this layout that I found in my little idea book, I had noted that the layout came from Kim's Blog but I don't know which Kim or her blog address.

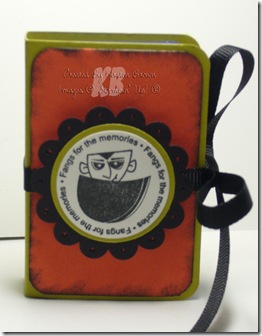
I know that this card is made out of a lot of retired items but I just love my two retired baby sets, I'm Here and Buggies and Booties and the Thank you sentiment just fits too perfectly to not use. This card is so simple that it was easy to mass produce.
Stamps: I'm Here, Much Appreciated
Ink: Lavender Lace, Elegant Eggplant
Paper: Lavender Lace, Elegant Eggplant, Whisper White
Accessories: Retired SU! Grosgrain and Organdy Ribbons, Pewter Hodgepodge Hardware, Stampin' Dimensionals
Tools: Spiral Punch
Pin It Now!


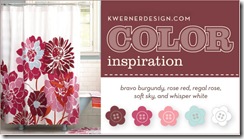 The colors she inspired us with are Bravo Burgundy, Rose Red, Regal Rose, Soft Sky and Whisper White.


