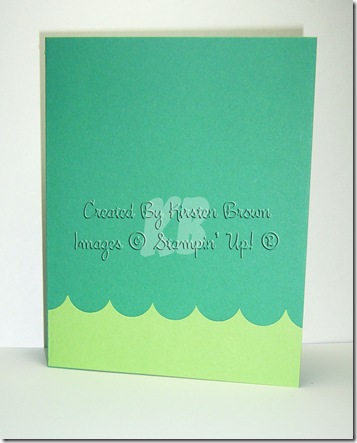
I have received many emails and comments on how to get your circle punch to make a scalloped border on my last post, so I decided to try my hand at my first tutorial. The secret is that the patterend paper is not cut but the Not Quite Navy is.
So here goes.....
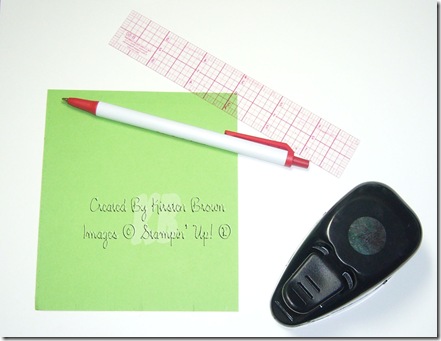
Supplies: Circle Punch (any size, here I used the 3/4 inch circle) , Ruler and cardstock or paper that will be "peeking out of the bottom of the scallops"
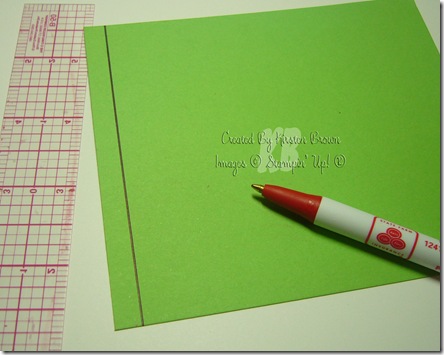
Draw a line that will help you line up your punches. For the 3/4 inch punch I draw my line at 1/4 inch. Generally I like to do about 1/3 of the size of the punch to make my scallops. I usually draw in pencil and erase it, but it will be on the back of your card so it won't show anyway.
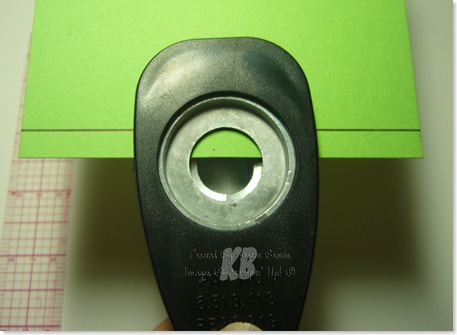
Eyeball it and line your punch up in the center of the cardstock. (This way your scallops will be roughly the same on both the left and right sides, if you want to be exact you can always mark the center where you want to start punching.) It is hard to see from this picture but you want to line the top of the punch up with the line that you drew.
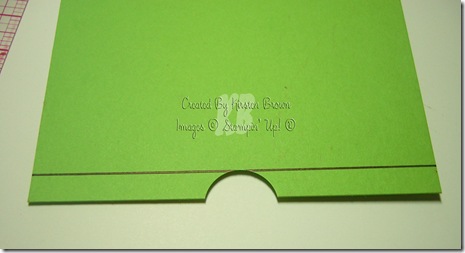
This is what your first punch will look like.
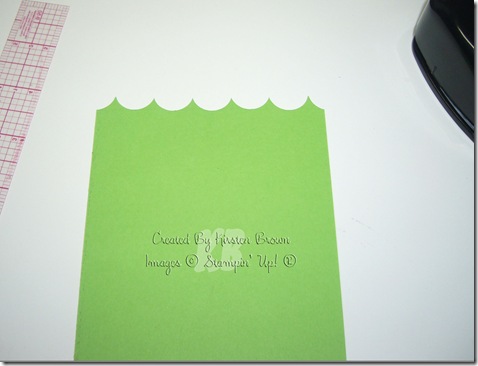
Then you just keep punching on both sides lining your punch up with the cut next to it and the guideline on the top.
Cut your cardstock to the size you want and attach it to your card! Easy Peasy Mac and Cheesy.
I discovered this while looking through some scraps of paper and I had a sheet of paper that had circles in a row that kept getting caught up on the other sheets in the folder. So I ripeed the top half of the circles off and was left with something that looked like scallops when I put it back with the other papers in the folder. I hope that this was helpful, if you have any other questions about it, just let me know. Also if there is anything else I have done that you would like to see pictures of how to do it, just let me know. I will either direct you to where I got it from ( I am all about giving credit where it is due) or make another tutorial for you!
Pin It Now!
No comments:
Post a Comment